Knitting Patterns by Lyndell

Halter Neck Dress for Neo Blythes - here
Design your own Dress for Neo Blythes - here
Gum-Nut Hat for Neo Blythes - here

Who? What? eh?

This is the blog of a constant crafter - a 'showcase' for some of the things I make, some hints for crafting & recylcing - lots of photos and some words. I hope it will inspire.
Please Note: all photos are Copyright.


Showing posts with label dog. Show all posts

Wednesday, 29 June 2011

Dog Costume ... The making of a Head

If you've a really good memory you might remember that I've been making a mascot costume of a dog - it has been an on-going project that really did take far longer than I had planned ...

It is now finished :-)  and I thought you might like to see some progress pictures of the most difficult part of this costume - the head.   Back at the end of last year I posted about the cardboard mock-up.  This (sort of) became the pattern.

But as with all engineering projects - you have to start with some foundations !   In this case a hard-hat - the harness inside fits the wearer's head, the brim will support the dog's nose, it is firm and you can glue things to it.  Things like supporting foam structures and wires for the ears.  Reminded me of "My Favourite Martian" - Ooops that's aged me !


I'm always forgetting to take progress photos :  the intervening processes were ... messy - bits of PE foam everywhere!
But here the head is taking shape - head, nose, lower half of the ears - all done.  Here I was checking that the end of the snout would work. 

That wire nose / muzzle is the only place the wearer will be able to see through.  It is important to give the wearer as much 'sight' (and ventilation) as possible without making it too obvious that there is a person inside the animal.

And yes, I was using my kitchen bench as the work area - managed not to poison anyone!

The next step was the lower jaw, and I'm starting to work with the covering fabrics.   This is a jaw - hardly any of that pretty pink satin will show - but it needs to be there.

And here is the jaw glued and stitched in place - and some fleecy on the nose as well ... pins keeping everything in place while the glue dries.
 

OK - now for the rest of the nose - a bit of artistic drapery here as this hound dog has jowls.  That's the original drawing of the Doggy - he is quite a cartoon type character.
Nose done - next the ears.  Tried to make them floppy and there is a little movement to the upper halves of the ears when the wearer moves.

Skipping a bit now - here most of the fur is on and I'm checking that the 'cape' will work.  The cape is to cover the neck, it will go under the shirt.

 Intervening processes :
  • Some padding to refine and soften the shape of the head
  • Lots of pattern-making (the fur patterns are not the same as the ones for the foam)
  • Lots of confusion about the direction/s of the fur - it grows 'up' on the front & back but sideways and around on the sides.  Sounds odd but it works
  • Then cutting and sewing fur - a little gluing in place with lots of hand stitching.
But you have probably noticed - dog still has cardboard eyes.  I left them to the end because they really had to be 'right'.  "The eyes are the windows to the soul" they say and definitely for an over-sized animal costume the eyes could make the difference between a nice friendly doggy and a really scary wolf-creature.

Eye parts -

Eyes finished - felt and satin, machine and hand applique / embroidery.  He has a bit of a "twinkle" in his eyes.


Another little touch ... doggy needed something between his ears :-)   a bit of a "hair do".    In the photo in the mirror above, there is a mess of fur fabric where the front meets the back - a problem that needed a nice solution.

Once again I had trouble sourcing suitable fur fabric - I just couldn't find that "hair of the dog" [sorry!]  Eventually I bought a shaggy fur cushion and chopped it up!

I think the result is cute -


Tuesday, 15 February 2011

Paws Button

erk erk ... can't resist a silly pun. Well, work on the dog costume continues sporadically - some time ago I showed you the front paws and now for the hind feet. Once again cartoon-like but not too large.

I started with the toes ...
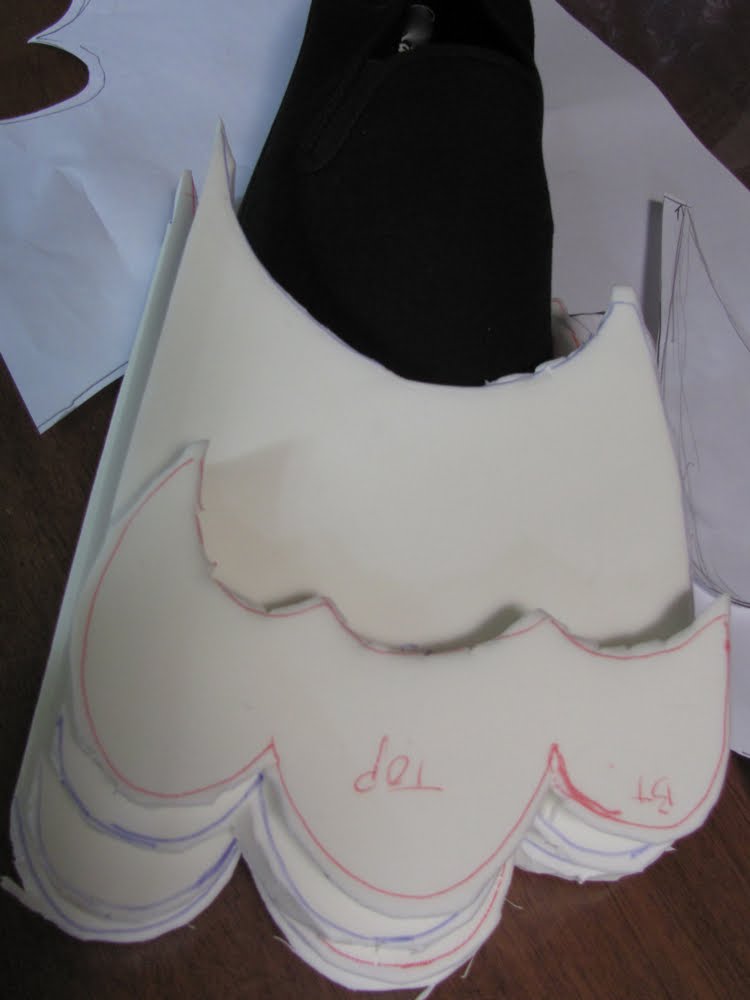
Using methods learnt at TAFE when making the shoes for a 'Munchkin' Costume - it can be seen here. PE foam is wonderful stuff and this was just thin enough to cut with scissors :-) A basic layering for the rough shape. That black object is one of the canvas shoes that these paws are going to be built unto. Glued those layers together ... erg - contact adhesive is so ... snot-like! Then lots of sanding back & a bit of wadding to refine the shape, put vinyl on the sole & fur on the top and suddenly it looks a bit like a paw. This is pre- glue & stitch as you can see by the pins sticking out!The fur is mostly glued with some stitches in strategic spots. Had trouble achieving "toe cleavage" the valleys between the toes which are important to achieve a cute paw. Had to stitch right through the thickest parts of the paws and nearly lost my needle a few times! Here is the 'sole' and you can see those stitches - and how the toe will fit round the shoe (once sewn together, they fitted more snugly).

Here is the pair of toes ...Stitched the toes to the canvas shoes and made furry tops to cover the remaining parts of the shoes and the wearer's ankles - he will have fur legs which are rather like track-pants. I'm not sure if the tops of these paws (now looking rather like ugg boots!) will be tucked inside the fur trackie-daks or go outside. Opted for an elastic loop and button system round the ankles for flexibility of wearing while minimising trip hazards.


Had to try the paws on - there is something about big furry feet that makes you want to giggle!