Knitting Patterns by Lyndell

Halter Neck Dress for Neo Blythes - here
Design your own Dress for Neo Blythes - here
Gum-Nut Hat for Neo Blythes - here

Who? What? eh?

This is the blog of a constant crafter - a 'showcase' for some of the things I make, some hints for crafting & recylcing - lots of photos and some words. I hope it will inspire.
Please Note: all photos are Copyright.


Tuesday 18 November 2014

Mending an Hand-Knit

One of the easiest and most rewarding things to mend is that lovely old hand-knit.  Sometimes the garment has sentimental value and mending a hand-knit can give you a lovely feeling of connection with the original knitter.   They are also quite easy to mend ...

Recently I mended this hand-knit jumper / sweater ... it really has had a life!  All those safety pins mark holes or areas of weakened yarn, about to become a hole.  There was a huge laddered area on one sleeve and some of the seams had gone.  (I must also apologise for the photos showing this jumper as all sorts of shades of green - different light at different times of the day and my having to use a phone camera - my digital one died!)

Re-sewing up seams is easy enough - use mattress stitch.  Sometimes the trickiest part of mending an old hand-knit is finding new yarn to match the old.  Going for a thinner yarn is always a good idea - I used a lace weight variegated yarn (Schoppel-Wolle) selecting the parts where the green was almost the same shade.


Sewing up the under-arms again - and in this photo you can see some old mends done by someone else a long time ago.

 I left one of those old mends & strengthened it but re-did the other - and this photo shows the front of the jumper with all mends and strengthening done.  This is pre-washing - blocking and some of those specks of paint didn't come out with a simple wash.

Such an old, much worn and loved knit will never look brand new again - but it can be given many more years of usefulness.


Here is how to mend an area that has gone to ladders.

First - catch all the stitches at the top and bottom to stop them laddering further.  Putting them onto safety pins works well -

Now re-knit up those ladders - and this is the same technique you use if you've dropped a stitch while hand-knitting.

Take one of those stitches from the bottom of the area onto a crochet hook and thinking of those loose strands as rungs on a ladder, work them up, one rung at a time, taking care to get the 'rungs' in the correct order. 

In case you are wondering - that isn't even an official crochet hook.  Everyone under the age of 12 seems to be making "Loom Bands" these days and most bags of those little elastic bands come with a hook ...

When re-knitting up a ladder you are working a sort of chain stitch - hook goes through the loop of the stitch, hold in front of the lowest 'rung', catch rung and pull it through loop - and it becomes your new loop, hold it in front of the next rung ... ...  repeat till you get to the top.  Where you will need a sewing needle and matching yarn to stitch together the stitch / loop from your ladder and the corresponding stitch at the top of the area being mended.

Most of these laddered areas start from a hole and you will probably find some broken yarn somewhere in the middle ... sewing needle & yarn will be needed there.
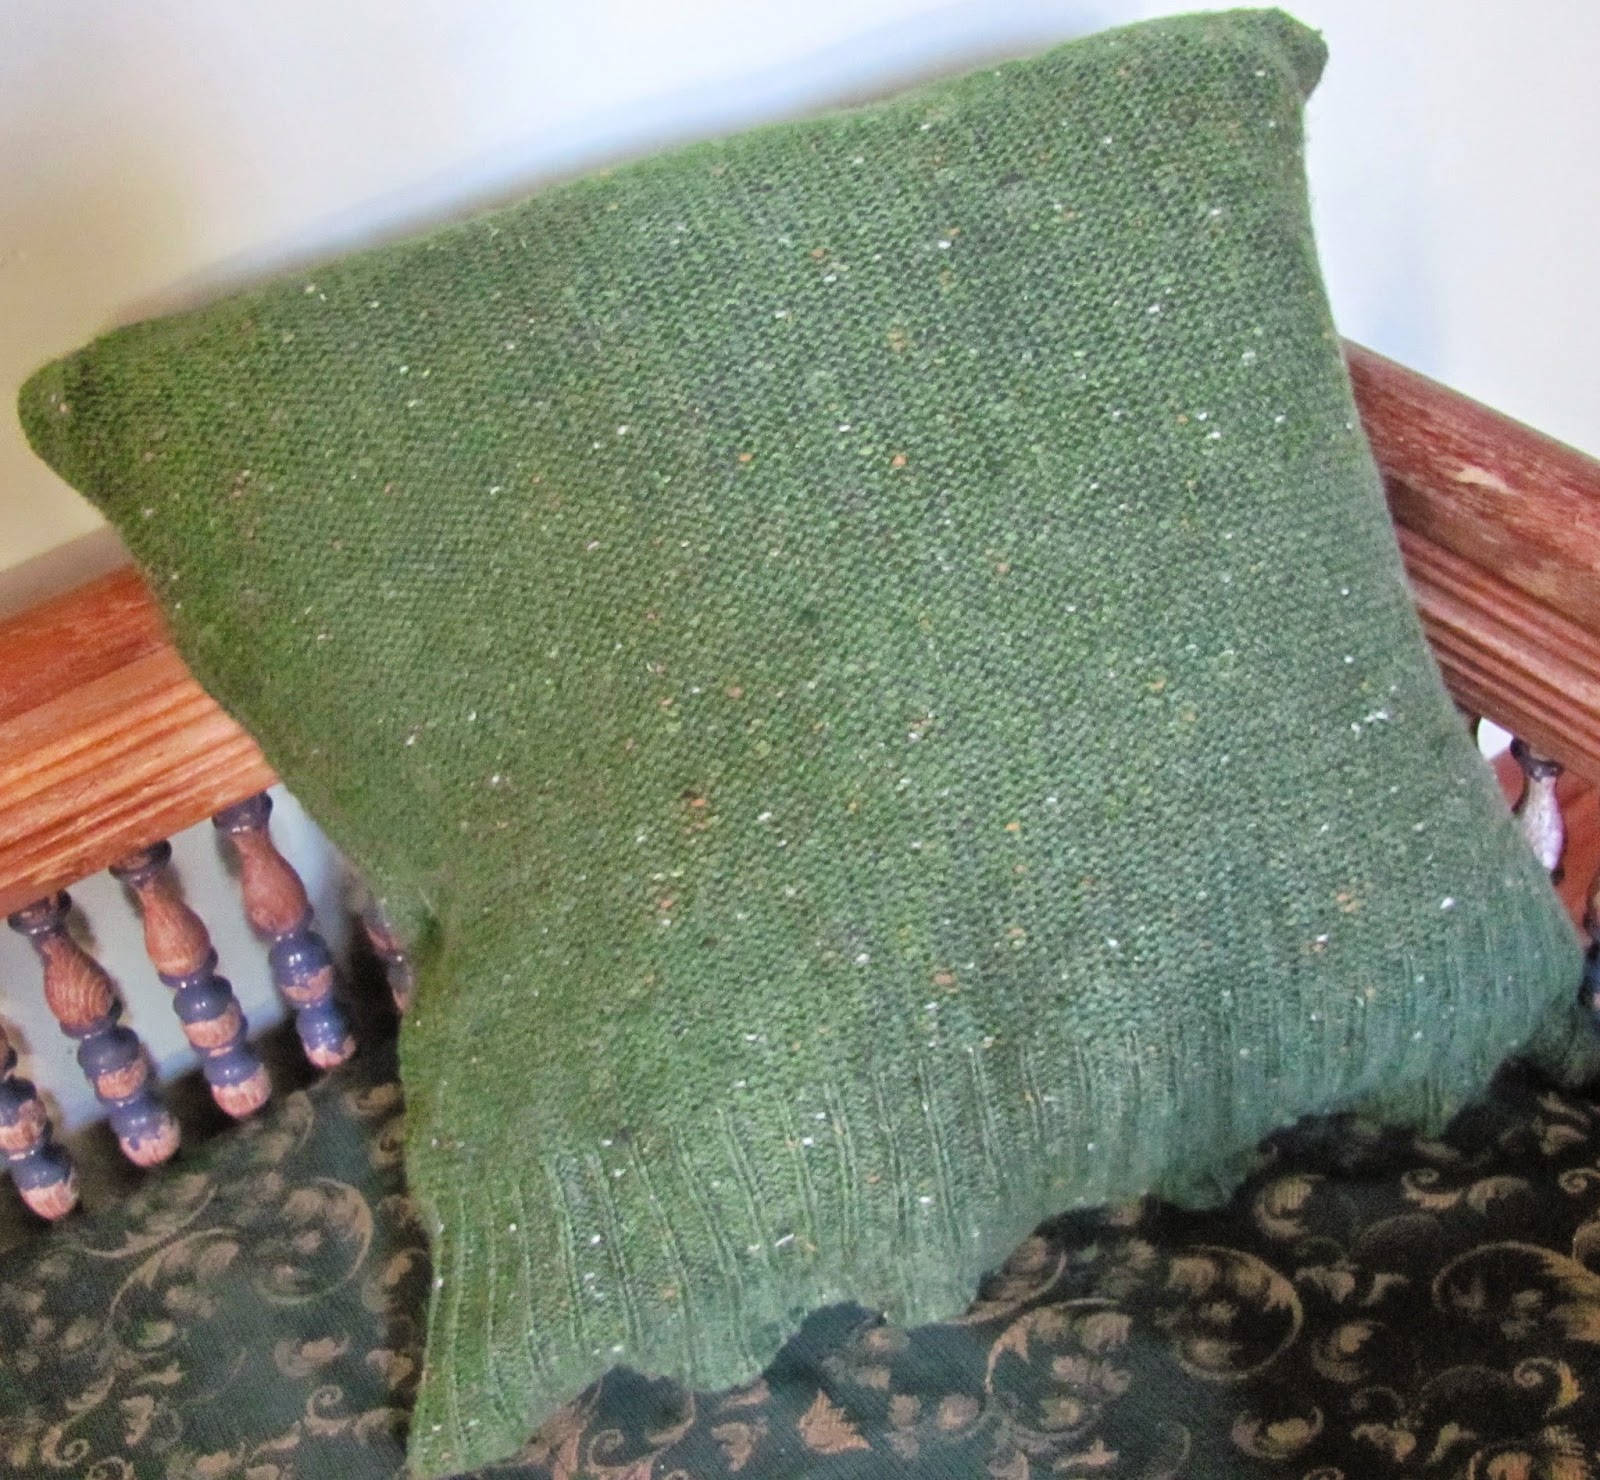
This photo shows the mend pre-washing


And now, after a wash ... a few more washes and I think the mend might be practically invisible.


Tuesday 4 November 2014

A Big Mail Day for Dollies


Yesterday was a very big mail day ....
First some Takara stock clothes arrived - I've been buying some of the older stock outfits for my girls as the quality was really good back then!   (and I must apologise for the low quality of these photos, my digital camera died and I'm using the phone camera now.)

My girls got a very nearly complete set of the stock for "I Love You It's True" (yep, Takara does do some odd names!)  Lots of pretty items in shades of blue plus sandals, funny pink socks and pretty undies (we like pretty undies!).  Also, most of the red evening outfit from "Love Mission" - evening dress, bustier, shawl and red shoes.

While Audrey and Imogen were trying on the new outfits another parcel arrived!
Audrey: "Can you do my dress up Imi?  I can't reach."
Audrey adores red shoes!!


Audrey: "Uh, now I can't bend, quick Imi, do up my shoe then we'll help Meerkat with the new parcel."

Meerkat: "I don't think this is yet more clothes ... it looks like a box here."

Imogen: "What, another sister!  Nah, that's quite small."


Imogen: "Ooooo nice cheese."
Audrey: "Hmmm, a shopping trolley, I guess that'll be useful for grocery shopping!  Nice red apple though."
Meerkat: "Bread - and it smells so good."

From inside the box, very muffled: "Hello there - can anyone hear me ... Hello ..."


 Some time later ...

Zucchini Flower: "Hi there, we can hear you, we'll get you out of there.  (quieter) She's another proper petite - I won't be the only Takara little one now."
Julia: "I guess this is why our Mummy Giant bought the extra crochet dress, wondered why she bought 4 sets when there were 3 of us."
Hilda: "Yes - there are matching bloomers too ..."
Meerkat - very quietly: "Lah dee dah - this baguette is going to be yummy with my new tapenade ..."


Zucchini Flower: "She has a nice dress already - but I think she likes pink things."


Julia (in the middle): "Looks like she's been in that box for Ages and Ages."
Annabella, still in the box: "A whole 9 years girls - I'm a 2005 release. And I really want to be released ... please hurry!"

Zucchini: "Annabella, you are like me - you've 2tone hair too and pretty coloured eyes like me."

Meanwhile, Julia and Hilda have found Annabella's pet / backpack ...
Julia: "Is it a rabbit or a kangaroo?"
Hilda: "hmmm, very confusing, the ears could be either and she has a pouch ... but no tail at all!!   We'll have to ask Auntie Bunny, she'll know."
(ed: Bunny is a Neo Blythe "Welcome Winter" and very knowledgeable about all the different breeds of rabbits)


 And we'll leave this post with a portrait of Annabella.  She is a Takara Petite "Tatianna Black" released in November 2005, so she has been exactly 9yrs in her packaging.
Her stock dress and bonnet are really pretty, as is her pet / backpack BunnyRoo.
She has lovely violet coloured eyes and 2tone blond hair that curls.
 

Monday 28 July 2014

Recycling an unwanted jumper / sweater

Tomorrow I'll be teaching a beginner's knitting class at the Green Living Centre in Newtown.  Apart from teaching the basics of knitting I'll be talking about how to knit & be eco-friendly at the same time. 

We can unravel (un-knit) unwanted things and use the yarn to knit something new - the bottle green yarn here was once one of my hubby's jumpers (sweater). 

We can make yarn from rather unlikely sources -

 those dreadfully polluting non-biodegradable plastic shopping bags can be cut into strips -

 They call it 'Plarn' - and this little bowl only took about 2hrs to knit up!


Plarn is possibly better suited to crochet but I've seen rather nice bags made from it (both in knitting & in crochet) and I've seen it used to make a picnic rug - wonderful idea!

We can also cut old Tshirts into strips that can be knitted or crocheted - and woven fabric too can be cut into strips, just cut it on the bias so it doesn't fray completely away.

Old jumpers (sweaters) can also be used for the fabric of them - the jumper that shrank in the wash is ideal for reuse as it won't unravel when cut and the fabric is relatively stable and won't stretch under the sewing machine.  Shrunken knitting can be sewn into all sorts of things, from beanies to dog jackets but what about the old, unwanted jumper that won't shrink?

This grass-green jumper is a commercial knit in a blended yarn that is mostly plant fibre - it wasn't going to shrink no matter how mean I treated it.  It has pilled badly but I like the colour - I also like the fancy stuff at the wrists ...

Ahuh!  turned in-side-out there is no pilling and the texture is nice


The largest area of usable fabric is from the hem to the underarms - a tube that is roughly square ... and about the same size as this old cushion that is in need of re-covering.
Rule & chalk straight across from one underarm to the other ...
flip the jumper over and do the same on the other side ...

Now - because this jumper would not shrink / it has not fulled (to use the old terminology) if I cut into this it will start to unravel. 

So I'm going to sew along that chalk line first - then, when I cut the knitting it will unravel only as far as the machine stitching ...

using the widest zig-zag stitch - along the chalk line.  Then I can cut, a few mms (about 1/4") above the line (above = towards the neck of the jumper)


Now I need to sew that end together ...


You can see that I'm sewing just inside the previous stitching, and the new right sides (old wrong sides) are together - there are 2 layers now.  The knitting is going to get all stretched and distorted going under the machine foot - so I'm gently pushing it under ...


My cushion is not as wide as the ex-jumper so I will re-seam the sides but first I need to re-arrange things at the hem so I can fasten the cushion nicely.  Snip the seams for about 4cm (not quite 2")


Overlap and pin together (do this on both sides) - then with the now right sides together I stitched down the sides ...

The next bit needs to look nice so I did it by hand - overlapping the hem edges by about 2cm (3/4") and matching the ribbing I stitched from the corners for about 5cm (2")


The rest of that side of the cushion cover is left open but will have fastenings ... a zip? too fussy
buttons? too hard to make the buttonholes
big snaps ... perfect
The finished cushion cover with cushion inside


Well - I've reused the 'body' of that old jumper but what can I do with the sleeves?
& I forgot to mention that there are strange elbow patches !
Well, let's mark and cut just below those patches - trying to keep straight along the row of stitches  
but how to transfer that to the other side of the sleeve?  With pins...
Make sure the edges are even
At the chalk line pin through both layers

Flip sleeve over and use the pins as a guide to chalk across
Stitch then cut as before - putting the sleeve on the free-arm of the sewing machine ...


then hem that cut edge & I used wave stitch here -


 Then I sewed some soft 'underwear' elastic on the inside ...
this doesn't really have to look attractive - it'll be hidden under my coat sleeves. 

Because what I've made are 'wrist-warmers' or false sleeve ends - they stop the cold wind going up the sleeve of your coat and hide half your hands (which is good when your hands are old & crinkly like mine!)


There is still some jumper left over ... I could make bottle covers from the rest of the sleeves, I could unravel the yarn & knit a toy frog, I could sew near the cut edges and use this as a cleaning or polishing cloth ... ... ...

Monday 21 July 2014

Lori goes to University

Lori Flower is the Traveller from the Sydney BlytheFest, she was customised by aniO and she is visiting us for a few weeks ...

Vistors get pressies from their hosts and here Lori is modelling the outfit I'm giving her.  I knitted the dress, sewed the cap & made the necklace - shoes & socks are purchased.

Lori has been having a great time with my girls but is amazed by how much time little Maddie spends studying - 
"Such a serious little girl!"

Maddie has explained that she studies hard because she wants to go to University ...
So Lori wanted to find out more about this University place ...


We went for a walk down King Street
("What an amazingly busy place that is!")


to Sydney University, where I showed Lori some of the older buildings. This style of architecture gets called Sandstone Gothic - here we approach the Quad(rangle) & MacLaurin Hall


Lori liked all the Gargoyles (as do I)  Some are quite fanciful ...

Others are rather true to life ... 
And Lori & I had great fun guessing at the animals some of the gargoyles are based on ...
A Dog-Bat-goyle

The Flying-Pig-goyle


Surely this gargoyle was based on someone who annoyed the person who carved it - or is this the mythical student from the depths of the Fisher Library?


Here is Lori in front of the main entrance to the Quad ...


and several of the gargoyles there are very Australian - 


This Roo-goyle is on the RH tower 


And this is to the roo's left - I used to think this was a crazy koala-goyle and looking up from the ground it does look like there is a big flat nose and little eyes  ...


But here is a better view - it is actually a sort of pony / lion critter


Here is a view of the top of the RH tower - the roo's ears are quite prominent.


When you step inside the quad and look up at those towers ...


you can find

Croco-goyle
Galah-goyle
Cockatoo-goyle wearing a jumper
 As you can see from the clocks it was late afternoon and the side-ways sunlight was hitting the sandstone and turning it lovely golden colours.  In the past, when most of the largest buildings in the city of Sydney were the ones made of sandstone, Sydney was nick-named The Golden City.


One last Gargoyle and one of my favourites from the quad - he reminds me of Tom Baker, the best Dr Who.
Time Lord-goyle
I showed Lori the famous jacaranda tree inside the Quad - not in flower at the moment ...

And we admired some of the lovely lead-light and stained-glass windows...

Then Lori and I went for a wander about the University campus  ...  round the side of the quad is the War Memorial Archway. 
A bit further on we found some camellia bushes splendidly, massively in flower ...

Lori wearing a pink race-day "facinator" ?

Because Lori actually had on her new 'engineer's cap' we thought it fitting that we should visit the Peter Nicol Russell Memorial ...
Lori: "That angel seems quite fond of the man's muscled arms!"
And finally we went to the Old Darlington School building


where Lori had a well deserved rest ...